Blog
Wooden Furniture from drab to fab in a few hours with just a few coats of paint.
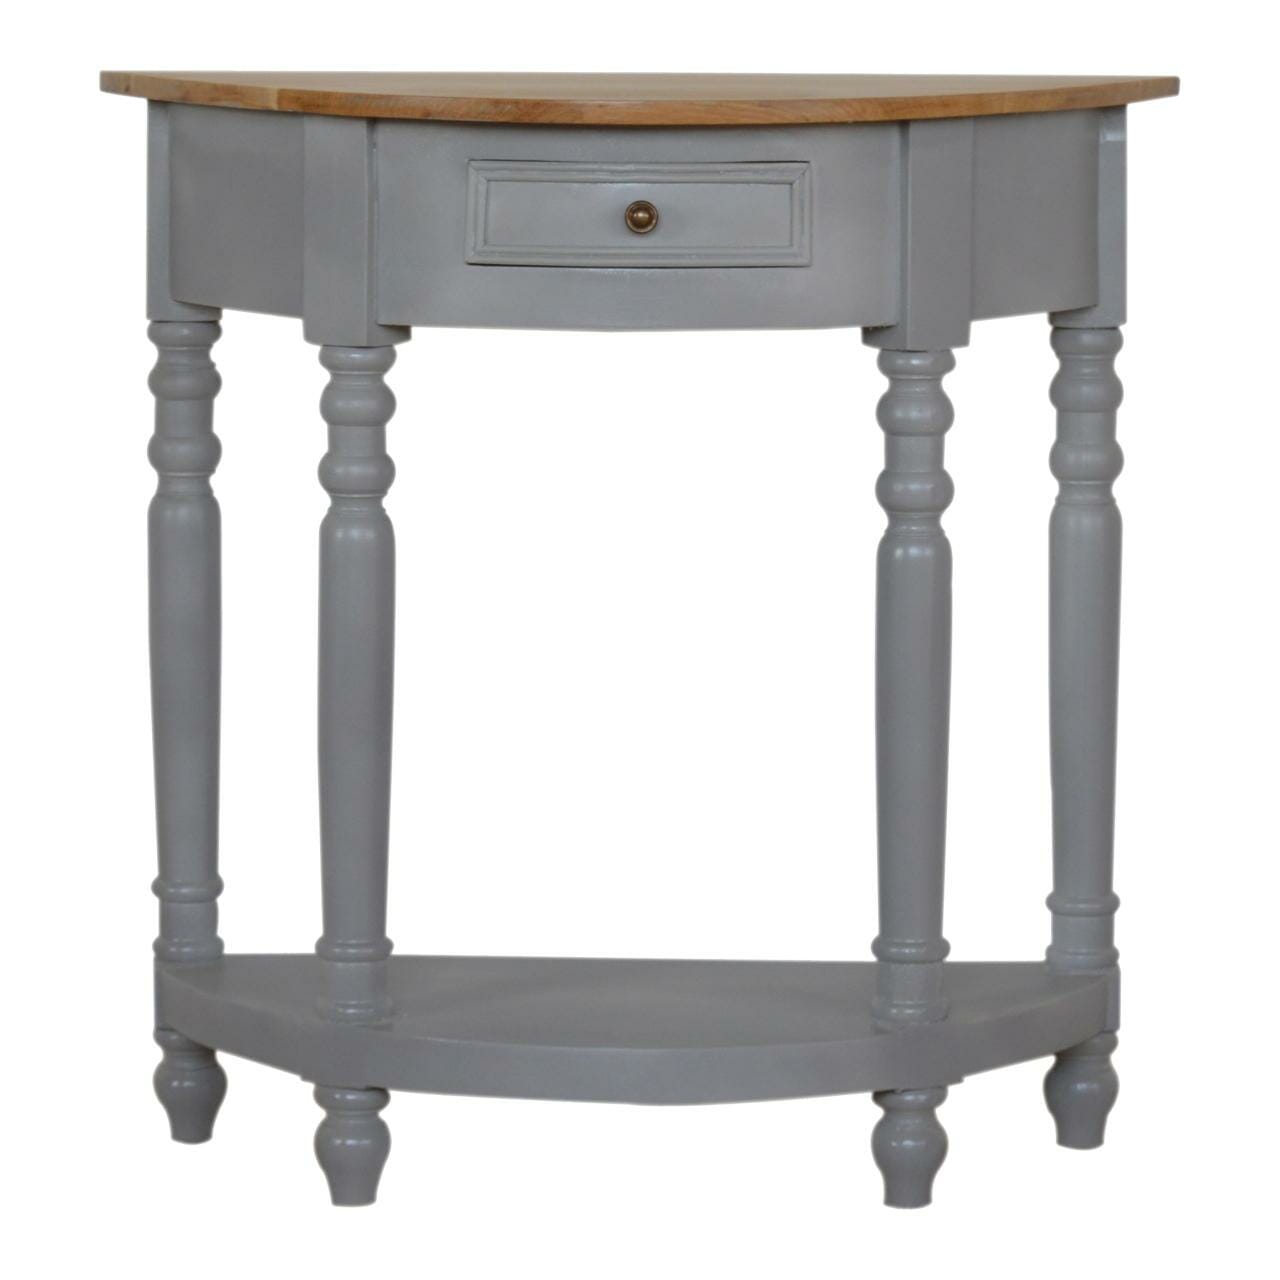
Remodeling your homely investments with a can of paint and some step-by-step directions. We bring to you a simple, four-step guide and tutorial on an easy method to paint wooden furniture or any type of wooden surfaces around the home and garden “without breaking the bank”:
STEP 1: Sanding
The primary order of enterprise when portray wooden furnishings is sanding. Don’t be tempted to skip this step. Correct sanding will guarantee a fair, easy end that’s not susceptible to chipping. I take advantage of an belt sander, however different ending sanders would work simply superb too.
Tip: I wouldn’t really recommend hand-sanding unless you are quite fit, and strong, some patients will also be the key to get good results. It takes quite a LOT of sanding to remove any layers of previous paint and stain, and whilst sanding natural timber it is always best to sand in the same direction as the wood grain. Sanding is hard work so do take your time, and try to enjoy it. Safety is also something that should also be taken very seriously so please always remember to protect yourself with a good quality face mask as wood dust can cause a number of health issues if inhaled. I would be very wary of sanding if I did not have the correct respiration protection.
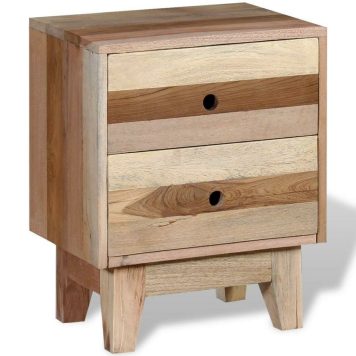
I often begin out utilizing 80- or 100-grit sandpaper, particularly if there’s a sturdy lacquer end on the piece.
As soon as many of the stain/paint has been eliminated, I swap to 150-grit or larger to take away any remaining end and easy out the floor.
Once I’ve sanded in every single place I can with the belt sander, I tackle the hard-to-reach areas by hand with either a sanding block or simply a piece of plain sandpaper that I can bend and fold to reach the awkward areas. As long as you sand enough to take away the sheen, the primer and paint should stick to the Acacia, Mango, Pine, and even Sheesham Wood Furniture surfaces, pretty much whichever timber strain of material you are working on.
STEP 2: Dust Removing
When you’ve completed sanding, it’s important to remove all of the dust, as residual dust will not solely mess up the new finish, but additionally, maintain the paint and primer from sticking. I usually use a damp cloth, or generally a dry cloth followed by an intensive vacuuming.
Now comes the fun part! (Yes, I hate the prepping.)
STEP 3: Priming
Once the wooden surfaces are sanded and also dust-free, you’re going to need to prime it. I prefer to make use of a spray primer as it usually gives a neater, thinner coat than a brush-on coat. Clearly, grey is the best to make use of underneath dark paint colours, and white is best for light colors.
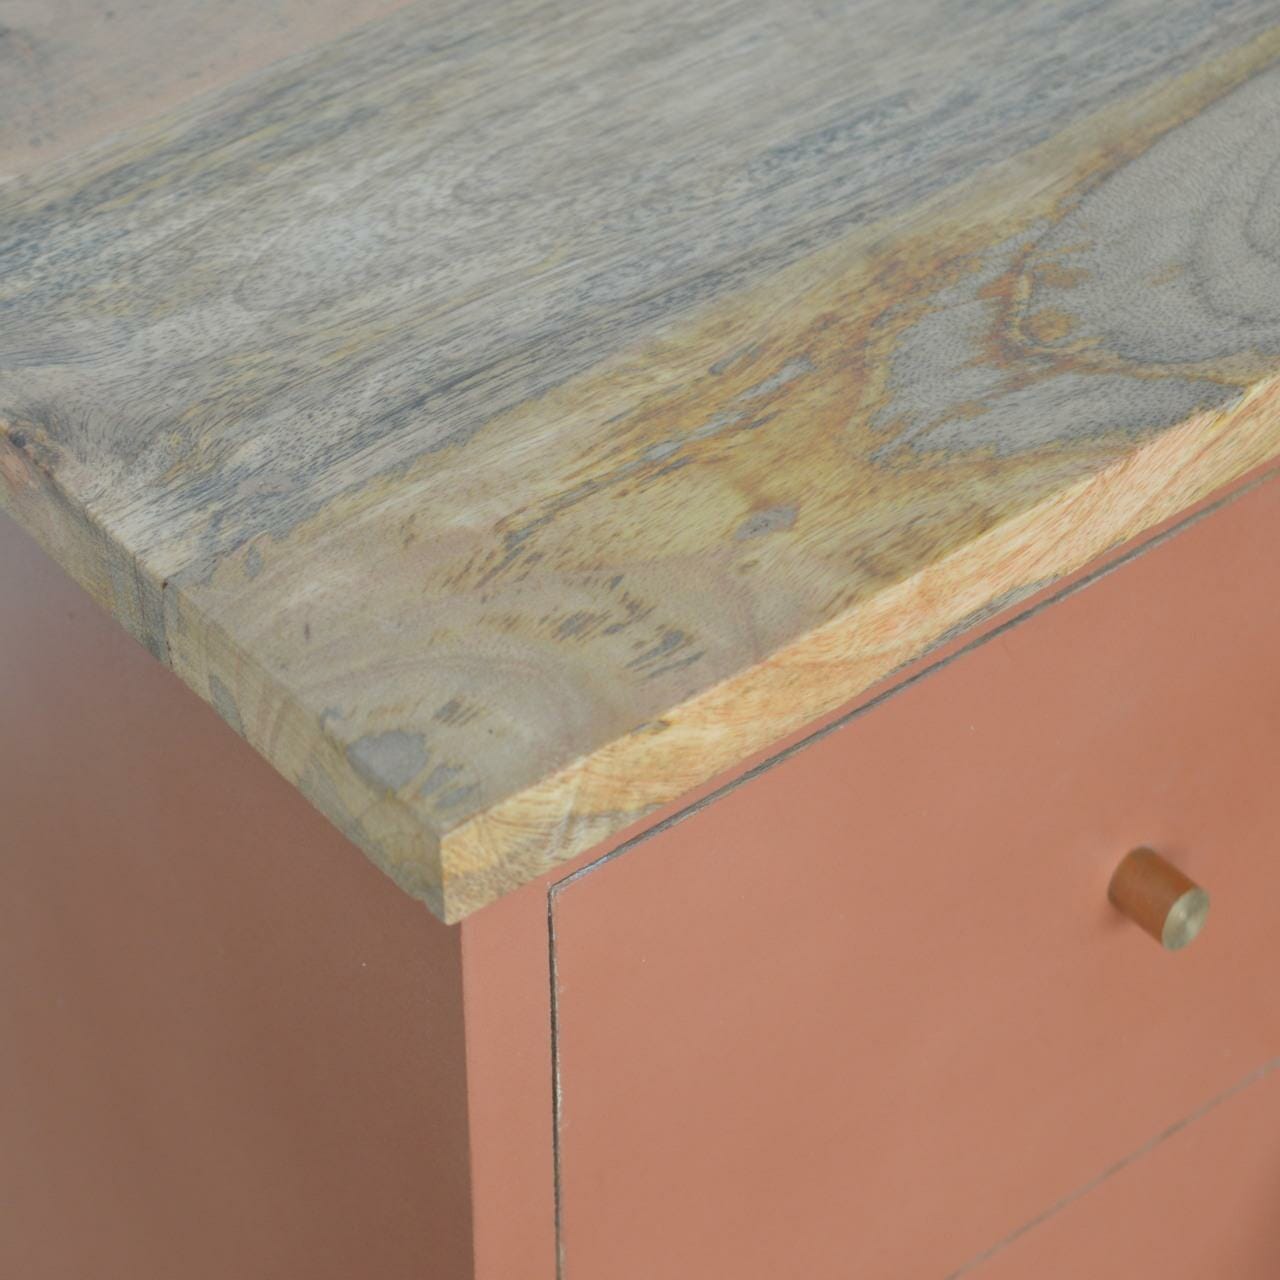
Whenever you prime, you need to apply a number of coats to achieve good results. The truth is, while you do the primary coat, it ought to barely seem like you’ve even primed. Let the primer dry for ten minutes or so (relying on the climate and producer suggestions), then do one other coat. Let that coat dry earlier than doing one or two extra. The purpose is to have the piece fully coated in a skinny, even coat of primer.
Relying on the wooden kind, I typically sand earlier than the final coat of primer goes on, because the primer can increase the grain of the wooden. If the floor doesn’t really feel easy to the contact, I run the orbital sander calmly throughout, utilizing fine-grit sandpaper. I wipe it down once more, apply another coat of primer, and I’m lastly prepared to color.
STEP 4: Painting
There are many types of paints that are suitable for upcycled and painted furniture however my favorite paint for wooden furnishings is Rust-Oleum Painter’s Contact Semi-Gloss. This paint is thinner than ordinary paint, which makes it easier to attain a clean finish. Painter’s Contact comes in a number of totally different sheens, however, I like to use the semi-gloss. (One can go incredibly far. Just to provide you a concept, the 2-1/Four cans I’ve used up to now have covered two dressers, three nightstands, a chair, a desk, and a file cabinet.)
Mix the paint well and utilizing a clear paintbrush (I use a regular, bristled brush, not a foam brush), brush on a really thin first coat.
Just as with the primer, it’s essential to do a lot of thin coats. I can not overstress this: applying 5 thin skinny coats is by far better than one thick coat. The thin coats look better, and they will be extra sturdy.
I’ve additionally found that when you’re painting a big, flat section (like the top of a dresser), it’s best to make use of long strokes that cover the entire size of the piece. This can help to make sure an easy finish with an excellent gloss.

This paint dries very quickly, so by the time you’ve put a coat of paint on your entire piece of furniture (unless you’re working in very humid circumstances), the area you first painted should be dry. If it’s not, wait ten minutes or so, then apply another very thin coat. Repeat this process till the timber is painted to your satisfaction.
If you happen to sand all the way down to the wooden, are cautious to use skinny coats of paint, and your piece of furnishings is manufactured from good wooden, then it’s best to have the ability to prove a easy, sturdy end whereas nonetheless having the ability to see some wooden grain by means of the paint.
And in the event you’re something like me, when you see what an unlimited distinction paint could make, you’ll begin trying round for extra stuff to color.
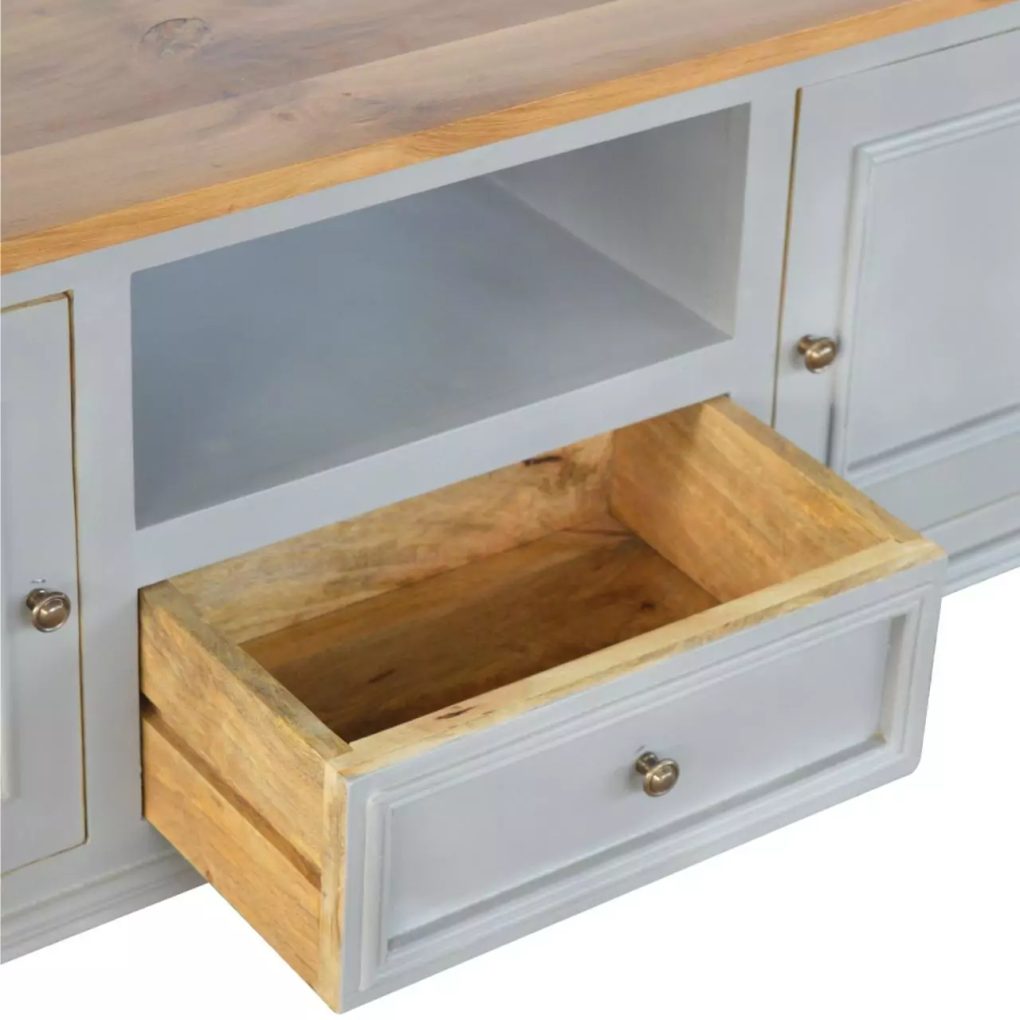
If all of this sounds just a little too much for you to take on then why not find a professional to carry out the work for you, alternatively we also have a fine selection of hand-painted furniture to choose from. We have a nice variety and most of which are in stock ready for direct home delivery.

